6.08.2013

Studio Tour


Decorating tip: don't overlook your doors for art-hanging opportunities. 
                           
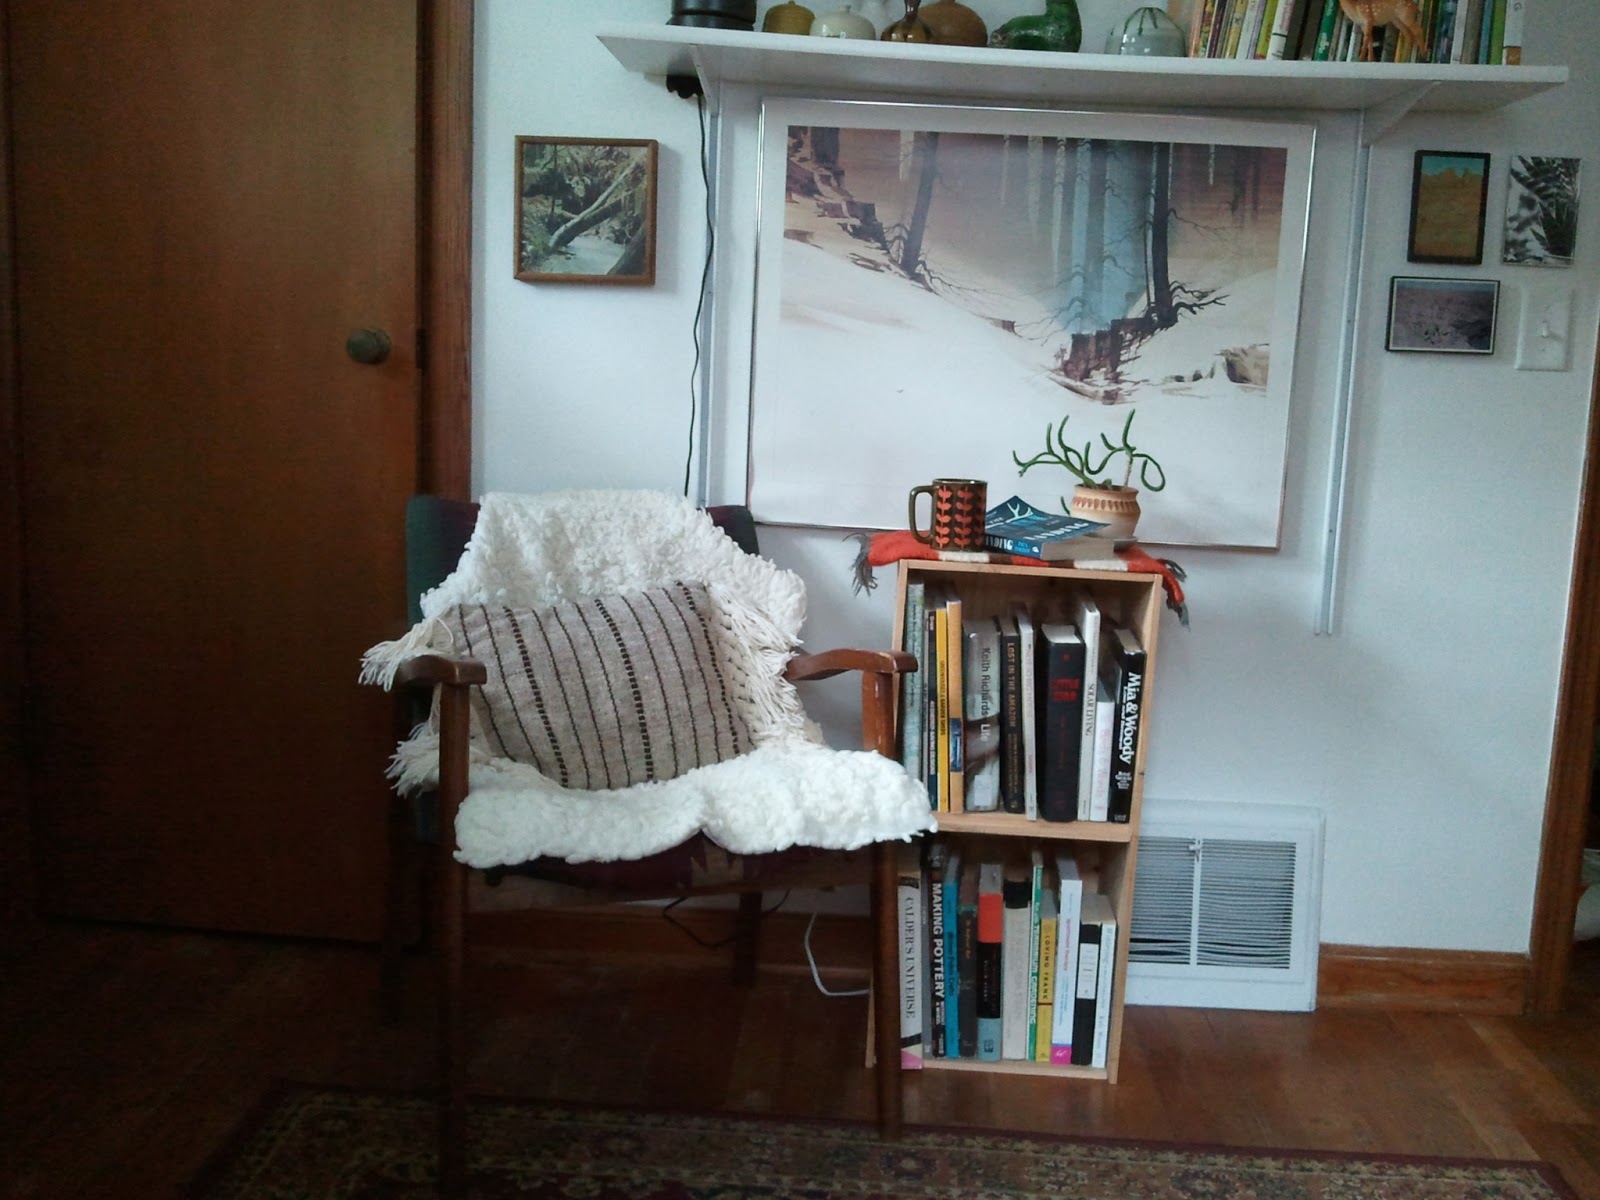
It was a long, hard road to get to this point, but I can now say that my studio is complete, and lovely, and just the way I want it. Why did it take so long, you ask? Well, when we moved into the house, this room served as the catch-all for all the junk we didn't know what to do with and continued as such for quite some time until I put my foot down and said, "This is MY room...I will only allow things in this room that I love and/or are useful to me." Now, that came with a lot of purging (why I had held onto a mountain of paper scraps and ugly fabric I would never use, I do not know) and thinking and re-thinking furniture layout in a small room.

For a long time I HATED this room--there was something seriously feng-shui wrong with it, combined with the junky clutter that I just couldn't handle. But now it is calming, beautiful and very conducive to creativity. Without further adieu, please enter my studio tour (a-la Apartment Therapy)....


I have my afternoon planned....


These wall-mounted shelves are inexpensive, fairly easy to
install and help utilize space all the way to the ceiling. 
My reading nook.

The Klobo loveseat from IKEA is invaluable in a small space.
 They have been well used and well loved in our apartments over the
last few years. 
 

This shelf is just a cool vintage wire basket I found for a couple bucks
and some wood cut to fit. It holds some of my work and other
 inspirational objects. 
My work table is simply four table legs painted a fantastic orange,
with MDF to top it off. It is the perfect size. 


what art studio is complete without an inspiration board? 


I found these shelves at Target for $20 each--they are the perfect
size for this spot. 


part of my collection of plant books
a few of my favorite pottery pieces


5.30.2013

Moving outside


 Every summer, I move most of my houseplants outside to soak up the sunshine, be refreshed by the rain, and generally thrive in the fresh air. Each year, I like to experiment with different set-ups for all my plants. Last year and the year before I primarily utilized a rickety (albeit good-looking) wooden plant rack, the year before that was metal shelves on the balcony, and even farther in the past they hung out on little tables I got at Target. Now that I have a yard, I rigged up the biggest, best shelving unit yet.


For about $1 each, I bought six "1/2 size" cinder blocks and Matt rustled up some old wood from the garage. Voila! a great-looking outdoor plant shelf. I made a Buddha face from concrete and will probably hang it above the plants. Look for that project in an upcoming post.


In other news, my silver squill bulb succulent is blooming. The teeny-tiny blossoms are so pretty--they have bright purple stamens inside the light green and white flowers. 


The excitement over this plant spurred me to create this blog. In case you don't remember, check out my first post. 


Anyway, my precious little euphorbia has performed like a champ. He went from a tiny cutting to growing his first leaf bract, then doubling in size in his first year, growing like crazy in the last two years and now... my baby is a parent! You may remember I chopped the head off the top of the plant, and as a result, the base section is now growing pups. The top part has yet to root, but it's still early and I have hope. 


I decapitated him back in February 

The largest pup at the top of the plant is noticeably bigger everyday!
The lighter green cutting in the pot was a hitchhiker in a plant I bought at the greenhouse ;) 

Another update to one of my plant babies is the "Obama cactus" which has grown about a 1/2 inch after being rooted back in November. Yay for Spring!!

4.16.2013

Jane of all Trades: New Recipe Edition


I thought I'd go all Martha Stewart on y'all and add a recipe aspect to my blog. I already post about home, crafts and plants, why not add cooking to the mix and make this a real domestic-diva situation.


To set this up, I have been a vegetarian for 10 years and subsequently developed a love of cooking. I make up a lot of my own recipes and devise all kinds of meatless and healthier versions of traditional comfort foods. For this post, I will share with you my newest creation: Healthier Mac n Cheese with Garlic-Parmesan Breadcrumb Topping and Roasted Tomatoes. 

My secret weapon to make this classic dish a little lighter (it's still actually quite rich) is pureed cauliflower. It of course adds a little veggie action (good if you have picky kids), and it eliminates the need for milk/cream or a roux as it creates a thick, creamy base. Yay cauliflower!

Ingredients:
1 package elbow macaroni
3 tablespoons butter
3 cups cauliflower florettes, cooked until very tender and pureed in food processor until smooth
1 1/2 cups mild cheddar cheese
1 cup sharp cheddar cheese
1/2 teaspoon dried mustard
1/4 teaspoon cayenne pepper
1/2 teaspoon salt
freshly ground black pepper

For the breadcrumb topping, pulse 3 slices good-quality white bread in the food processor until fine. Melt 2 tablespoons butter in skillet and add breadcrumbs. Toast over medium heat until lightly golden. Finely chop or Microplane a clove of garlic and add to breadcrumbs along with some dried or fresh parsley and 1/4 cup grated Parmesan cheese. Toast another minute and set aside.

Cook the macaroni in salted boiling water until just under al-dente. Reserve 1/2 cup cooking water before draining.

In a large saucepan, melt the 3 tablespoons butter and add the pureed cauliflower, salt and pepper. When heated through, add the cheeses and spices. Stir until well combined, then add to cooked pasta along with a little of the pasta cooking water to further moisten.

Lightly butter a baking dish and evenly distribute the mac n cheese. Sprinkle on breadcrumb topping and bake at 375 degrees for 20 minutes or until the top is golden.

A nice side to my mac n cheese is some roasted tomatoes. To make them, slice 1 pint of cherry tomatoes in half and toss with a teaspoon of sugar, pinch of salt, and a splash of balsamic vinegar and drizzle of olive oil. Bake at 400 degrees until tender and juicy.

Enjoy!

4.13.2013

Not Spring, but Happy Anyway


Well, I thought putting up a spring wreath outside (see last post) would somehow remind mother nature that we need some frickin' sunshine and warmth, but it didn't work. Regardless, I'm continuing to think positive and did a doodle on my kitchen chalkboard.

Thinking positive also means buying new plants. Last weekend we stopped at Lowe's and I picked up a couple beauties.
 This may be an Adenium?
 Rhipsalis "Mousetail" hanging basket. I have a beaded macrame hanger that will be perfect for this guy.


 An absolutely perfect pairing. If this doesn't bring spring, nothing will.


3.31.2013

Spring Craft

Dyeing Easter eggs is a fun craft I've enjoyed every year since I was a kid. At 28, why stop now? While perusing various craft blogs and pinterest, I came across Ombre dyed eggs. Ombre is a fancy color-graded (from light to dark) technique that has become very popular. And it turns out to be very easy to do with eggs.

First, prepare your food color egg dye with only 2-4 tablespoons of water (you want the color to be very concentrated to start with). Then carefully place your hard-boiled egg in the color. I used a small spoon to help keep it upright. Let the egg sit for 5 minutes, then pour in a little water to raise the level of liquid no more than 1/2 way up the side of the egg. Wait 2-3 minutes then add another dose of water. Continue until the egg is completely submerged, then take it out of the liquid after no more than a minute.


My next project aims to jazz up a plain planter.


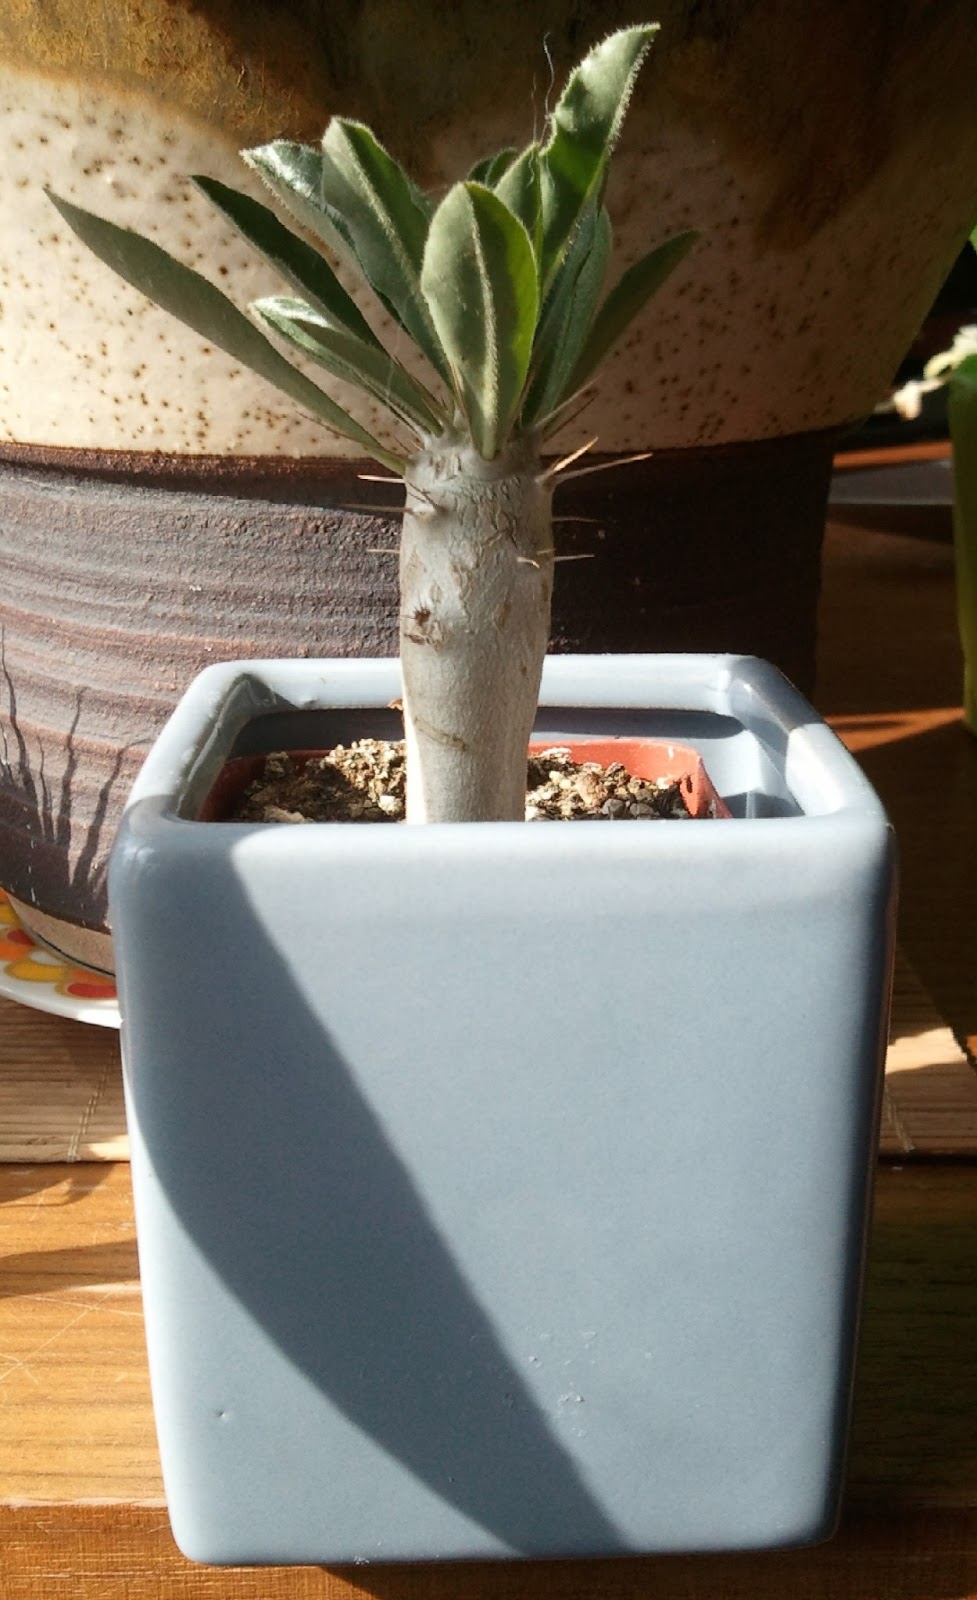
 I found these fantastic plastic planters at Target. I grabbed a whole bunch of various sizes, knowing I could use them for re-potting my cacti and succulents.


I love the modern look of white, but this big pot begged for a little color. With some painter's tape and newspaper, I masked off all but a strip at the top of the pot, which I spray-painted a nice dark orange.


                                                                             Lovely!


To spruce up the front of the house, I fashioned this pretty, colorful and whimsical wreath, all with materials I had around the house.


                                                                      Put a bird on it!

3.18.2013

Hip to be Square


There once was a time when I was not a crazed succulent and planter-loving lunatic. But that was before I stumbled upon an article about Molly Quan in ReadyMade magazine. The piece featured her very cool, hip Portland home and revealed her love of cacti and succulents, as well as her shop Life+Limb (now defunct) a source for all things modern home and garden. 

Not long after seeing this article, I visited a local greenhouse and bought my first succulent plant. I was instantly hooked, and simultaneously I was scouring thrift stores for pottery and planters similar to Molly's collection. I particularly was mesmerized by the aqua-glazed and textured pot in the photo above. 

Years later, I still had not come across anything remotely similar to this object despite persistent questing.  Until a couple weeks ago. 
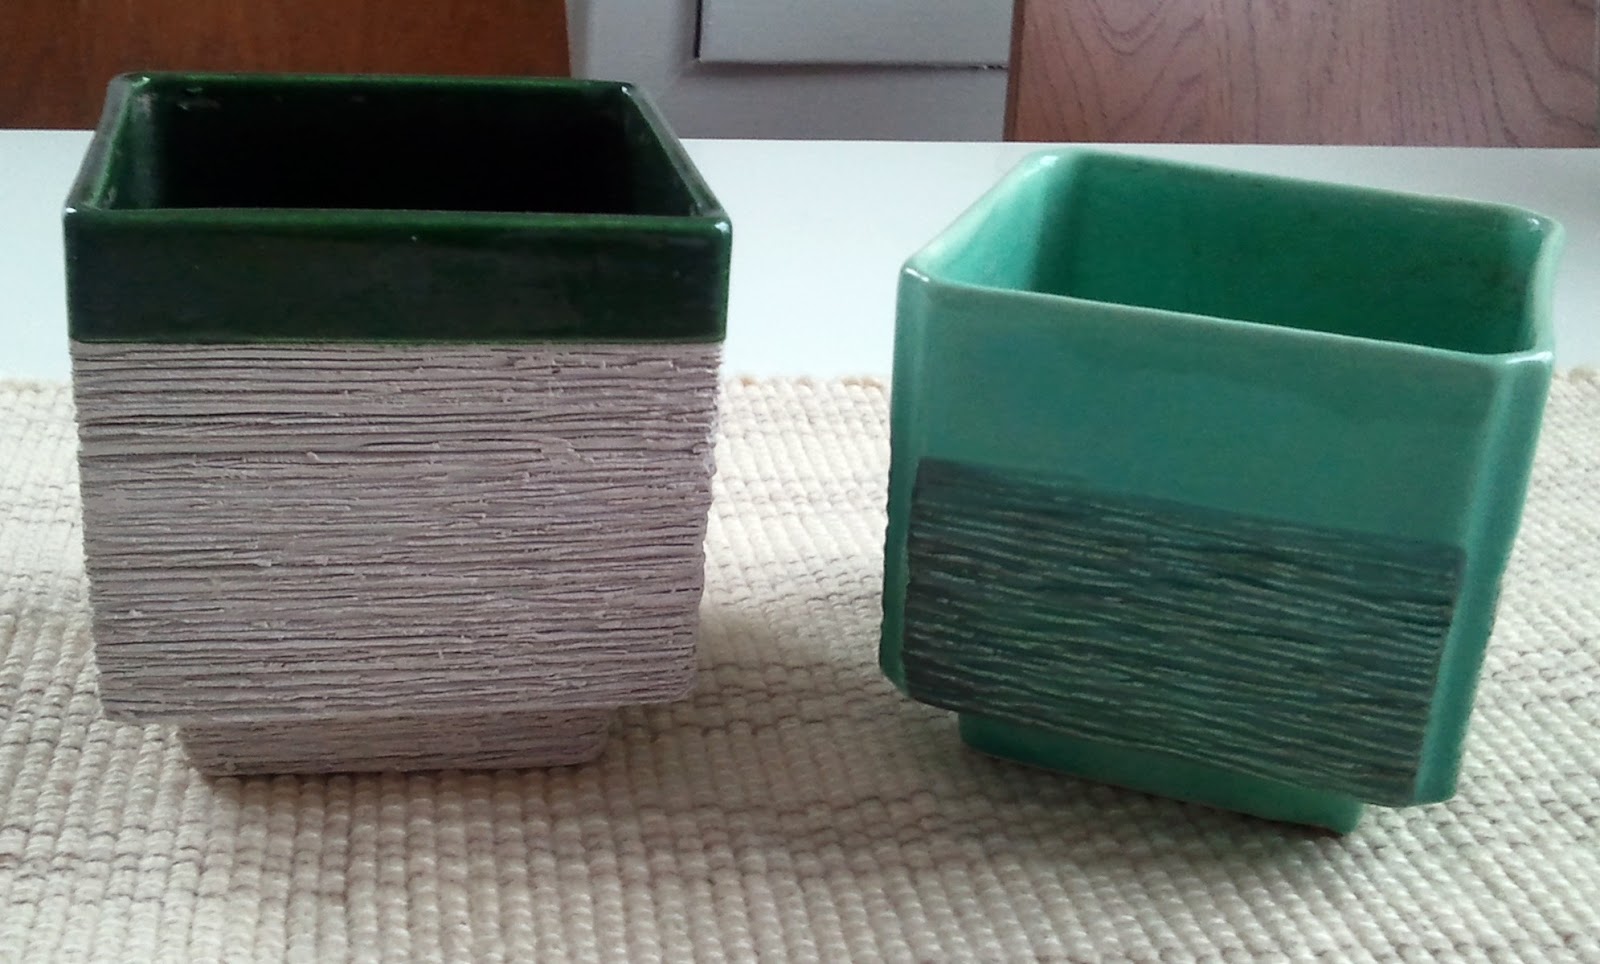
I was casually browsing the shelves of Goodwill, when, there at the very bottom was not one, but TWO pots  remarkably similar to what I have been trying to find all this time. 
For full effect, you know I had to plant a plant in it like the one in the picture. 


So, as if finding two of these beauties wasn't enough, I scored ANOTHER one yesterday for $5 at an antique store. This one is more the color of Molly's but it has a softer more finished texture. Please keep in mind I was not greedily seeking more of what I was already so lucky to have, but the universe kept throwing them at me and I couldn't not do it.... Yeah right, I snatched that pot up like a feral raccoon.