3.31.2013

Spring Craft

Dyeing Easter eggs is a fun craft I've enjoyed every year since I was a kid. At 28, why stop now? While perusing various craft blogs and pinterest, I came across Ombre dyed eggs. Ombre is a fancy color-graded (from light to dark) technique that has become very popular. And it turns out to be very easy to do with eggs.

First, prepare your food color egg dye with only 2-4 tablespoons of water (you want the color to be very concentrated to start with). Then carefully place your hard-boiled egg in the color. I used a small spoon to help keep it upright. Let the egg sit for 5 minutes, then pour in a little water to raise the level of liquid no more than 1/2 way up the side of the egg. Wait 2-3 minutes then add another dose of water. Continue until the egg is completely submerged, then take it out of the liquid after no more than a minute.


My next project aims to jazz up a plain planter.


 I found these fantastic plastic planters at Target. I grabbed a whole bunch of various sizes, knowing I could use them for re-potting my cacti and succulents.


I love the modern look of white, but this big pot begged for a little color. With some painter's tape and newspaper, I masked off all but a strip at the top of the pot, which I spray-painted a nice dark orange.


                                                                             Lovely!


To spruce up the front of the house, I fashioned this pretty, colorful and whimsical wreath, all with materials I had around the house.


                                                                      Put a bird on it!

3.18.2013

Hip to be Square


There once was a time when I was not a crazed succulent and planter-loving lunatic. But that was before I stumbled upon an article about Molly Quan in ReadyMade magazine. The piece featured her very cool, hip Portland home and revealed her love of cacti and succulents, as well as her shop Life+Limb (now defunct) a source for all things modern home and garden. 

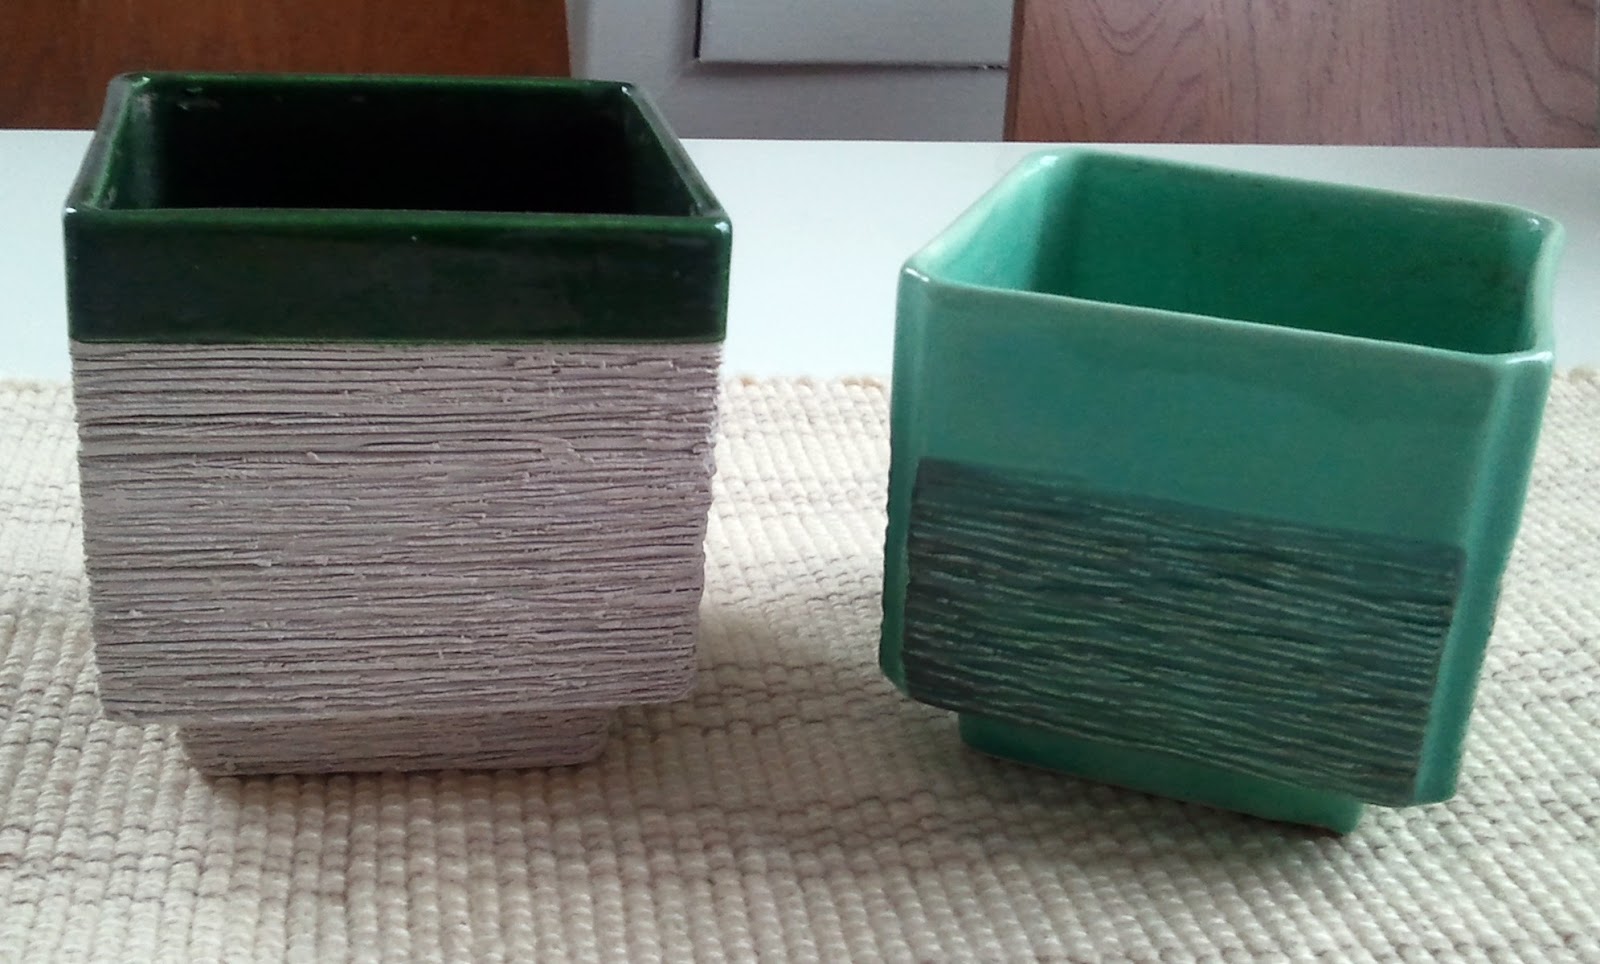
Not long after seeing this article, I visited a local greenhouse and bought my first succulent plant. I was instantly hooked, and simultaneously I was scouring thrift stores for pottery and planters similar to Molly's collection. I particularly was mesmerized by the aqua-glazed and textured pot in the photo above. 

Years later, I still had not come across anything remotely similar to this object despite persistent questing.  Until a couple weeks ago. 
I was casually browsing the shelves of Goodwill, when, there at the very bottom was not one, but TWO pots  remarkably similar to what I have been trying to find all this time. 
For full effect, you know I had to plant a plant in it like the one in the picture. 


So, as if finding two of these beauties wasn't enough, I scored ANOTHER one yesterday for $5 at an antique store. This one is more the color of Molly's but it has a softer more finished texture. Please keep in mind I was not greedily seeking more of what I was already so lucky to have, but the universe kept throwing them at me and I couldn't not do it.... Yeah right, I snatched that pot up like a feral raccoon. 


2.25.2013

Design Dreaming

As you know, I have been trying to design and carry out plans for our upstairs and transform it into a warm and inviting master bedroom. I have a small chunk of the horrid pink walls painted a lovely sandy beige, but progress had been halted. Over the last week, we have purchased a beautiful bathroom vanity, uber-modern faucet, and white subway tile. I figured it is easiest to put up the wall tile before installing the vanity. After modifying the wall heating vent and ripping up a small portion of the floor, this bathroom project was clearly becoming a big one. But I'm thrilled and excited and motivated.

With this ever-expanding bathroom project, the upstairs plans have been put on hold. But I am eager as ever to tackle it. Here are my ideas:

image from: freshome.com
This is color and feel I'm going for with the wood ceiling. 
While at our local home improvement store, I scoped out the laminate flooring options for the ceiling. There is major square footage to cover, so budget is very important. I found a medium-tone (not too dark) highly variegated option for like $1.50 per square foot.  
Image from: the-brick-house.com
The only lighting we have upstairs is a tiny wall sconce at the top of the stairs. For some romance and drama I want this sexy beast hanging above the stairs. 


I OWN YOU!!!! Yes, I have had my heart set on this rug from World Market for several weeks. Last weekend was a 1/2 off sale so I splurged and it arrived Friday. I absolutely love it and I think it will provide a nice stepping-off point for the design of the rest of the room. Oh, and I think I got one of the last ones because it is no longer available online. I rule. 

image from: krrb.com

Ikea always has a way of elbowing in any budget-conscious home update. A simple, modern, low Malm bed would be perfect for our bedroom. They have a great new color option too: a medium walnut with a more prominent grain.


One of the last projects will be a divider to separate the closet area from the sleeping area. I really like this wood slat number, and it would be an easy DIY. Unlike these folding screens, I would do a permanent built-in screen, as we have sloping ceilings and a brick chimney smack in the middle. I like the slats because it would let light through from the window on the other side.

We're talking a lot of wood (part of the floor will also be wood/laminate or cork) warm colors and texture. With all the ideas and long wishlist I have, we may very well be still working on this next winter. 

2.10.2013

Garden Expo 2013

Under the cover of being a new homeowner planning garden and landscaping this spring and summer, I attended the garden expo here in Madison. But the true reason I went was to hunt down succulents. Now, before you roll your eyes and call me a crazed obsessive-compulsive, I did learn about leaf mulch compost, garden borders and I bought two really cool art-metal trellises. However, my eye was constantly roving for my true loves and I was not disappointed.


I almost bought one of these purple/black beauties but held off until we had seen everything.


 Firesticks. I can't believe I don't have one of these.


There was a whole bunch of really nice (and expensive) mini succulent gardens. Don't you love the carved stone owls?


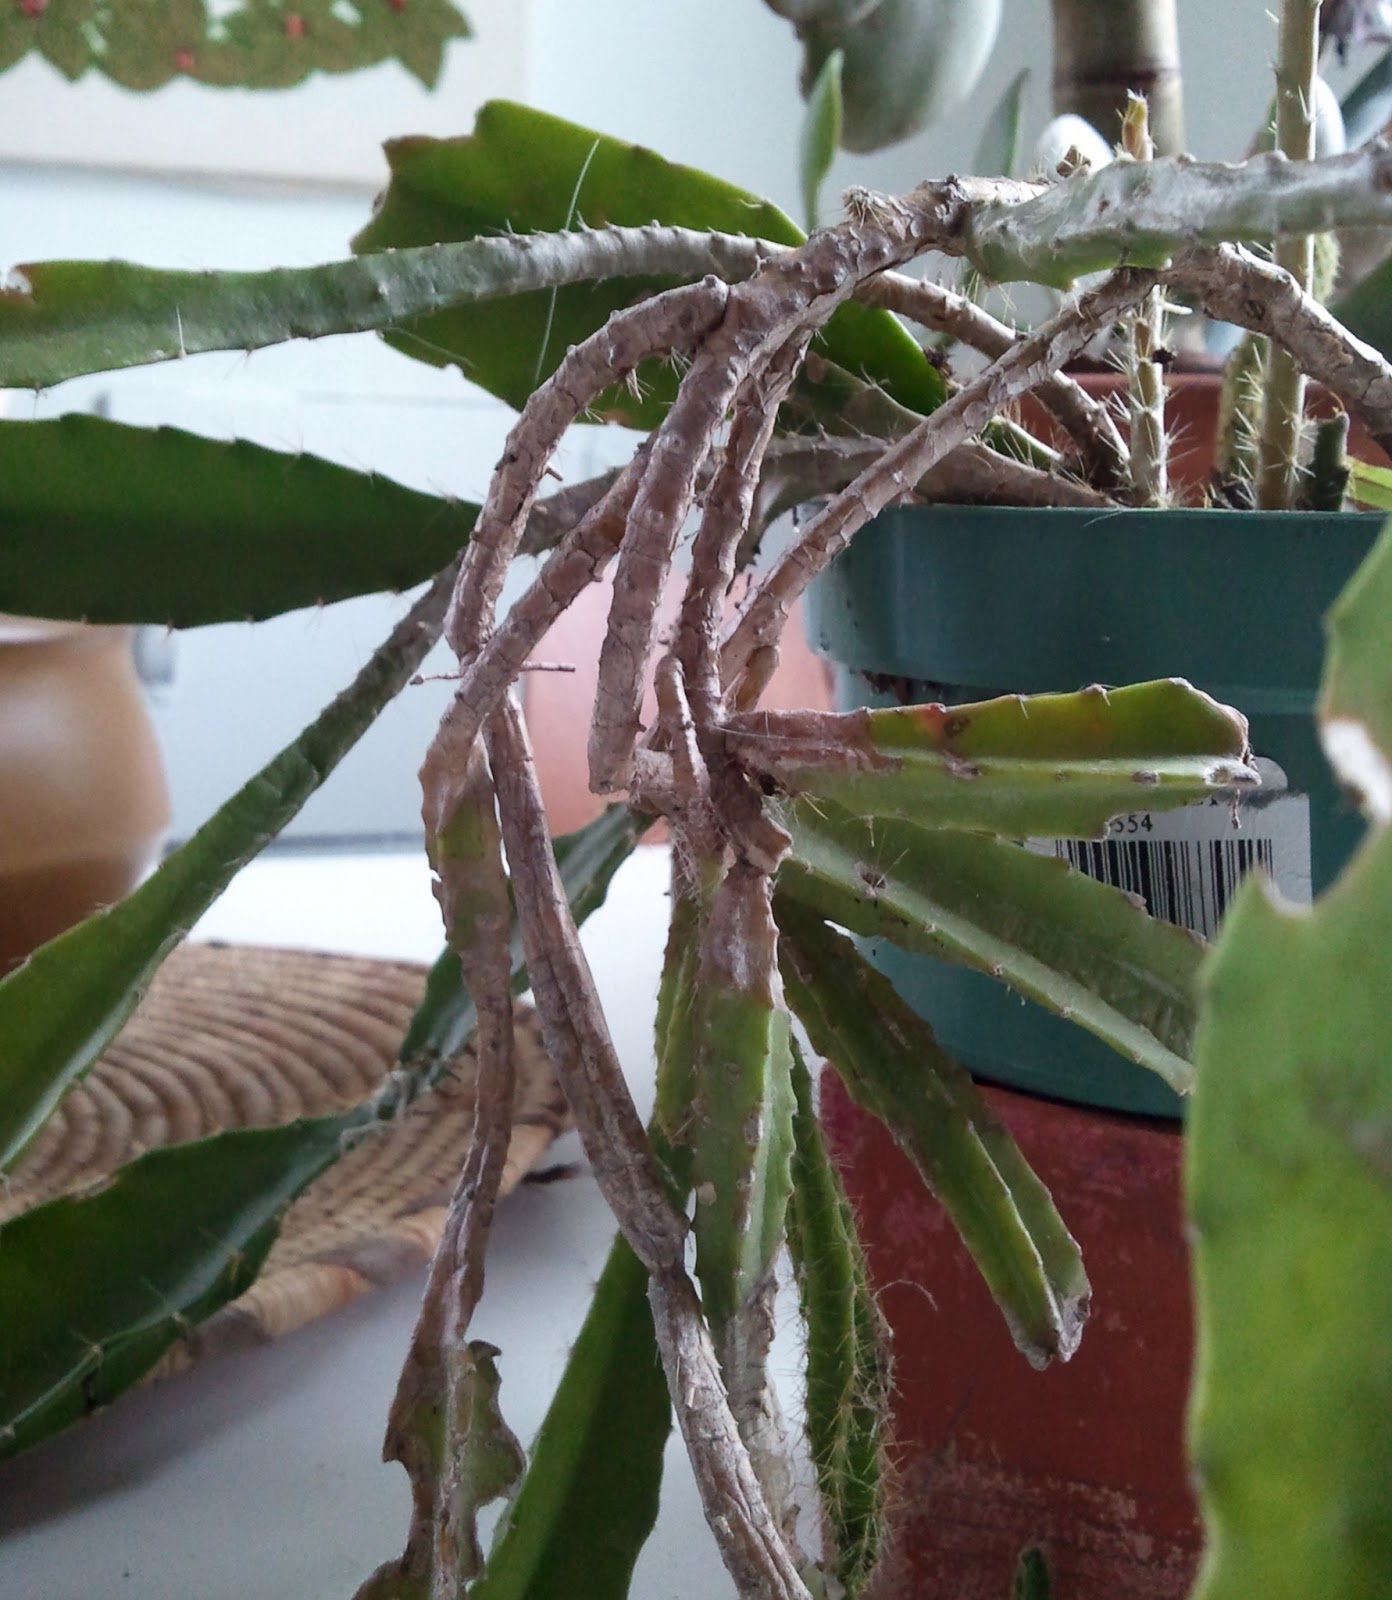
While stopped in front of a booth selling siding or windows or driveway pavers, I happened to look down and see a little oasis of slightly sad-looking potted aloes. But I freaked when I noticed the Epiphyllum among them. The $4 price tag made the decision easy.


She needs a little TLC--some pruning, a re-pot and a good watering, but I couldn't be happier.


Check out the cool woody stems. It's probably a cutting off a much larger, old plant.

2.05.2013

DECAPITATED!

My 3-year old Euphorbia Trigona cutting has been doing extremely well, growing over an inch taller just this last summer alone. However, it became obvious that the lower section was not growing and the plant was becoming top-heavy. So, nervously, I decided to cut off the robust growth at the top of the plant in hopes it will root and continue to grow, while the bottom part will sprout new off-shoots.

Here's my illustration of the situation:

I'm a nerd. Get over it.

 I was pleasantly surprised to see healthy roots which had filled much of the pot.

 Scalpel...


 If you have the good fortune to own any of the varied and diverse members of the Euphorbia family, do be careful, as they will seep a white liquid if cut which can be irritating to the skin and toxic if ingested.

The bottom portion of the plant got repotted in a larger container with fresh soil. The top part will be left to dry and heal over before getting his own pot or joining his mother in her new pot.


Based on how fast this plant has grown in the last year, I am hoping he will look like this soon:
photo from here: http://onthewildslopes.tumblr.com/post/42213704895

1.24.2013

Plant Stuff


I got a head start on plant tinkering. I know it's the middle of winter and most my plants are in hibernation, blah blah...but the days are getting longer and I'm a glass-half-full kind of gal.  To start, I divided up my spiny aloe (above). The thing grows in crazy clumps and thought it would look really beautiful by its lonesome. Mission accomplished. 

 
 I found this Arabia metallic black pottery planter recently. I wish I could say the cactus (Cholla??) was not new, but it is.

I've been working at my Jade bonsai. This is probably my neatest, best-kept plant. For a long time, it was bushy with clumpy masses of leaves everywhere. After a serious pruning last summer and periodic plucking, it is looking quite beautiful.
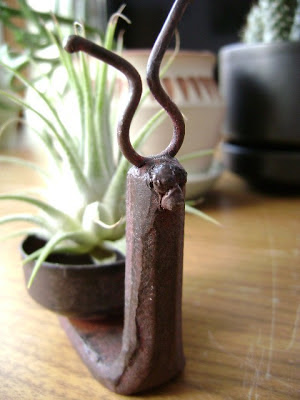
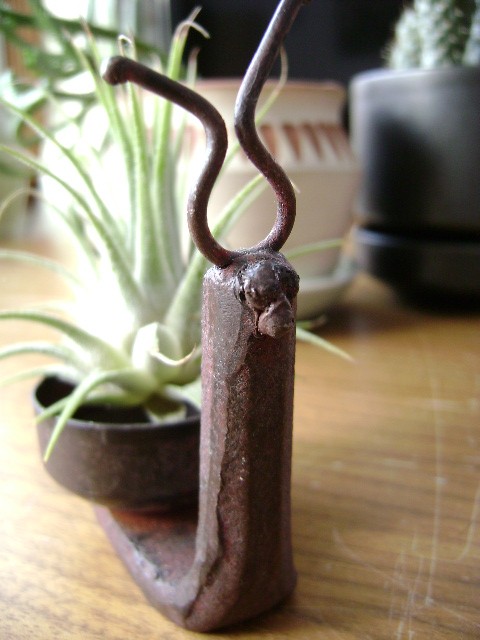
 Instead of using my adorable metal snail votive holder for it's intended purpose, I stuck an air plant in him! In love.

My Etsy shop will be back up and running in the next week or so. Here's a teaser:

1.05.2013

New Year, New Projects

 I've been terrible about keeping up with my blog--apologies and excuses. Anyway, as much as Matt and I have accomplished on our house (see past posts) there's more! Our priority has been getting the living areas livable and saving the upstairs master bedroom for this very moment. Exciting, I know. 


 We've broken the project down in 3 parts. 3 parts in 3 months. Sounds do-able. First is to paint. Call me crazy, but the pink is quite ugly. We've chosen a nice earth-tone which will be a welcome change to the all-white downstairs. 


Part 2 will be to remove the horrid ceiling tiles and replace them with some type of wood. We'll know when we see it, but I'm thinking some kind of salvaged hardwood. We're going for a very warm, architectural- modern feel. 


Finally, if all goes to plan, new flooring will go in. 2/3 of the large room will serve as sleeping and closet area while the front 1/3 will be a place for low book cases and a reading nook. We will delineate these spaces with a low-pile carpet in the bedroom area and a cork or hardwood in the lounge area. 

Last will be finishing touches like putting in baseboards, trim around the windows and something to separate the closet from the bedroom, like a Shoji screen or more bookcases. 


The area to the right of the chimney will serve as a spacious
walk-in closet.


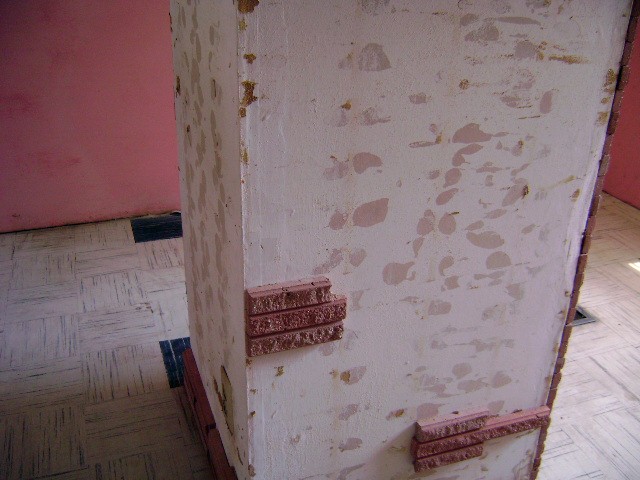
I almost forgot the chimney. After painting and before doing the ceiling, we have plans to knock off the drywall covering the chimney to expose the brick underneath. Why cover real brick with fake, I will never understand. Depending on what it looks like, I'd like to paint the brick white. What? I love white. 

Overall, I expect the upstairs to be fairly easy compared to the rest of the house. We don't have floors to refinish, endless hours of paining, and disgusting messes to clean up. Just installing NEW stuff. 

Ok, that was a lot of ugly you had to look at. Here are some nice things to soothe your eyeballs.


This may be my favorite little corner of the house. I have two epiphitic cacti hanging
in a bright window over the kitchen table along with our perfect pendant lamp
and my beloved "yarn painting"
The kitchen cabinets look amazing with my DIY handles. 
Eames chair deserves its own nook
I've discovered that hanging a small textile on the sides of
our Ikea Expedit bookcases adds so much warmth and texture
to the whole thing. 


I found this hand-woven trivet at a thrift store (shocking, I know). It adds
nice visual interest above the sink. 


11.11.2012

Cactus cuttings 101

Crazy cactus lady strikes again! 


Three years ago, I plucked a tiny euphorbia trigona stem from a gorgeous specimen in a catholic church (sinner!!) after my nephew was baptized. I couldn't help myself! Now that little cutting is 5" tall and on its way to greatness. 

Last Tuesday while casting my ballot for Obama, I spotted a potted Opuntia Elata giving a valiant effort to thrive in a cramped corner (right next to the heat vent, poor thing) of the school library. I quietly wandered over to it and gently snapped off one of its larger pups. Stealing property from an official voting place? Probably illegal, but that's how hard-core I am. 

It seems as though I know what I am doing in the stolen-cactus-cutting department, so here are some tips if you aren't exactly well versed in the subject, and want to grow some free plants. 

First, let your cutting dry in a warm, bright spot where it won't be disturbed for at least 2 days and up to a week on a clean, dry surface like a towel. This will help the cut end heal over and give the plant the best chance to root. 

Next, find or buy a small 2" terra cotta pot and place a scrap of paper (I like unbleached coffee filters or newspaper) over the hole in the bottom to prevent your soil mixture from leaking out. 


For cacti and succulent cuttings, your soil mixture should consist of about 50% sandy gravel and 50% store-bought cactus potting mix. The gravel and sand will help improve drainage so the cutting does not rot, and the soil provides nutrients. If your mixture is very dry, lightly spritz it with water to moisten. 

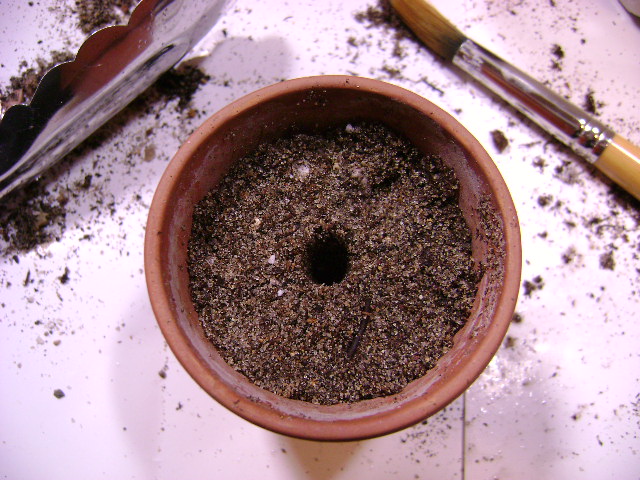
Lightly pack the mixture into your pot, leaving about 1/2" from the top. Using a wooden skewer or pencil, make a shallow hole big enough for the base of the cutting. 


Place the cutting (cut side down) into the hole far enough 
for it to stand up on its own, and fill in the hole with the
 surrounding soil mix. 


I like to use a fine gravel (found at any garden center) topdressing for my cuttings to help prop them up and wick away moisture from the base of the plant. If your soil mix is sufficiently moist, you can wait to water your cutting until a few days after to ensure it will not rot. 


Place your new plant in a warm spot with sufficient natural light and it should root within a couple weeks. Don't be alarmed if the little guy starts to shrivel, he will plump up once his roots start to develop. My cactus cutting will be babied for the next 2-3 years, until I'm sure it is well-established and likes what I'm doing for it.